In a previous article I presented how to compute the skew angle of a digitized text document by using the Probabilistic Hough Transform. In the last article I presented how to compute a bounding box using OpenCV, this method was also used to compute the skew angle but with a reduced accuracy compared to the first method.
Test Set
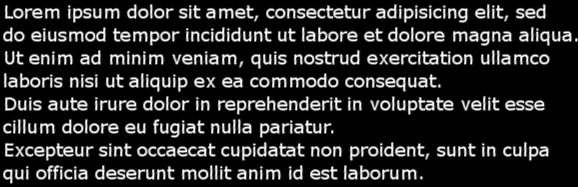
We will be using the same small test set as before:
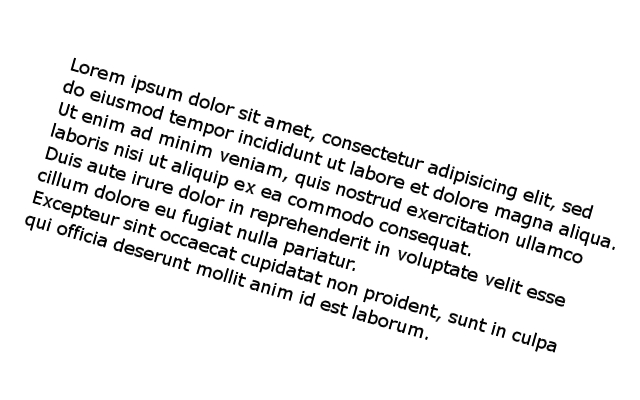
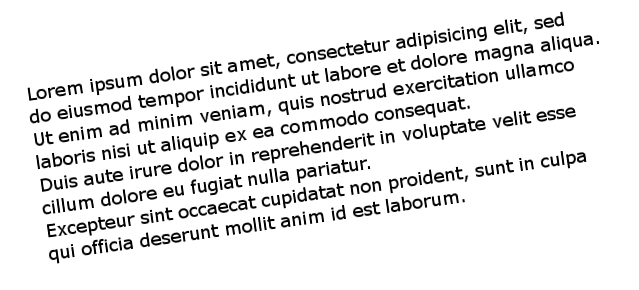
The naming convention for those images is simple, the first letter stands for the sign of the angle (p for plus, m for minus) and the following number is the value of the angle.
m8.jpg has therefore been rotated by an angle of -8 degrees.
Bounding Box
In this article I will assume we have computed the skew angle of each image with a good accuracy and we now want to rotate the text by this angle value. We therefore declare a function called deskew that takes as parameters the path to the image to process and the skew angle.
void deskew(const char* filename, double angle) { cv::Mat img = cv::imread(filename, 0); cv::bitwise_not(img, img); std::vector<cv::Point> points; cv::Mat_<uchar>::iterator it = img.begin<uchar>(); cv::Mat_<uchar>::iterator end = img.end<uchar>(); for (; it != end; ++it) if (*it) points.push_back(it.pos()); cv::RotatedRect box = cv::minAreaRect(cv::Mat(points)); |
This code is similar to the previous article: we load the image, invert black and white and compute the minimum bounding box. However this time there is no preprocessing stage because we want the bounding box of the whole text.
Rotation
We compute the rotation matrix using the corresponding OpenCV function, we specify the center of the rotation (the center of our bounding box), the rotation angle (the skew angle) and the scale factor (none here).
cv::Mat rot_mat = cv::getRotationMatrix2D(box.center, angle, 1); |
Now that we have the rotation matrix, we can apply the geometric transformation using the function warpAffine:
cv::Mat rotated; cv::warpAffine(img, rotated, rot_mat, img.size(), cv::INTER_CUBIC); |
The 4th argument is the interpolation method. Interpolation is important in this situation, when applying the transformation matrix, some pixels in the destination image might have no predecessor from the source image (think of scaling with a factor 2). Those pixels have no defined value, and the role of interpolation is to fill those gaps by computing a value using the local neighborhood of this pixel.
The quality of the output and the execution speed depends on the method chosen.
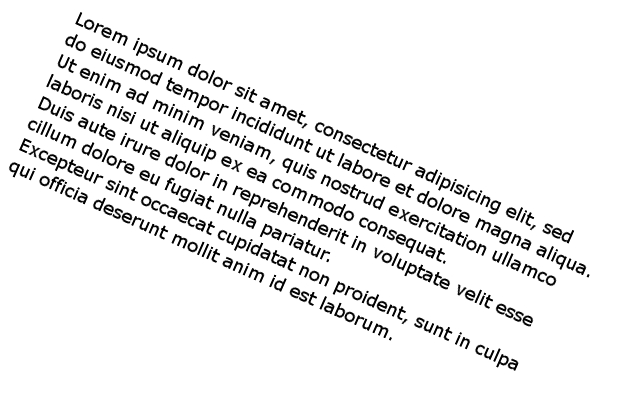
The simplest (and fastest) interpolation method is INTER_NEAREST, but it yields awful results:
 .
.
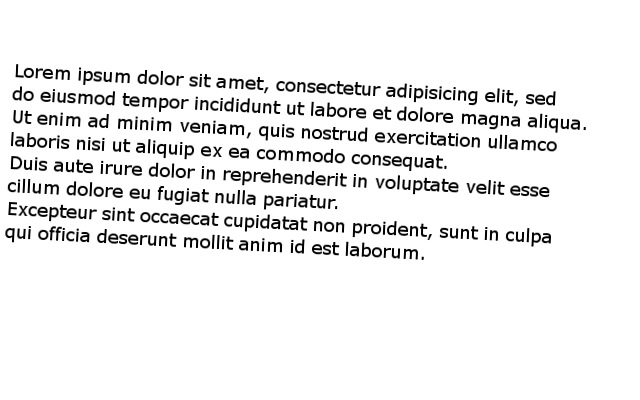
There are four other interpolation methods: INTER_NEAREST, INTER_AREA, INTER_CUBIC and INTER_LANCSOZ4.
For our example those 4 methods yielded visually similar results.
The rotated image using INTER_CUBIC (bicubic interpolation):

Cropping
We should now crop the image in order to remove borders:
cv::Size box_size = box.size; if (box.angle < -45.) std::swap(box_size.width, box_size.height); cv::Mat cropped; cv::getRectSubPix(rotated, box_size, box.center, cropped); |
As mentioned in the previous article, if the skew angle is positive, the angle of the bounding box is below -45 degrees because the angle is given by taking as a reference a "vertical" rectangle, i.e. with the height greater than the width.
Therefore, if the angle is positive, we swap height and width before calling the cropping function.
Cropping is made using getRectSubPix, you must specify the input image, the size of the output image, the center of the rectangle and finally the output image.
We use the original center because the center of a rotation is invariant through this transformation.
This function works at a sub-pixel accuracy (hence its name): the center of the rectangle can be a floating point value.
The cropped image:
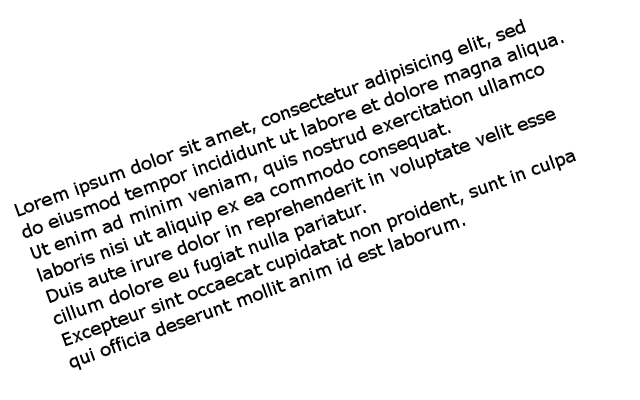
To better understand the problem we have with positive angles, here what you would get without the correction:

We can immediately see that we just need to swap the height and the width of the rectangle.
Display
This is a small demo so let's display the original image, the rotated image and the cropped image:
cv::imshow("Original", img); cv::imshow("Rotated", rotated); cv::imshow("Cropped", cropped); cv::waitKey(0); } |
That's it ! It's really simple to rotate an image with OpenCV !


